How to Throw a Last-Minute Halloween Party That Looks Totally Planned
It's October 20th, and you just realized you want to host a Halloween party. Maybe the kids mentioned it casually at dinner, or your friends dropped hints about "not having plans yet", or you simply woke up with that sudden urge to celebrate. Whatever the reason, you're now facing the calendar with a mix of excitement and mild panic.
Here's the good news: a memorable Halloween party doesn't require weeks of planning or a Pinterest-perfect setup. With the right strategy and some clever shortcuts, you can pull together an impressive celebration that'll have your guests thinking you've been planning for months. The secret? Focus on high-impact elements that take minimal time but create maximum atmosphere.
Your Last-Minute Timeline: What to Do When
48 Hours Before:
- Send digital invitations
- Plan your menu (keep it simple!)
- Order or gather printables
- Quick grocery list
24 Hours Before:
- Print and prep decorations
- Prep any make-ahead food
- Set up main party area
Day Of:
- Final touches and atmosphere setting
- Set out food and activities
- Enjoy the fact that you pulled this off!
1. Send Invitations Instantly (Yes, You Still Need Them!)
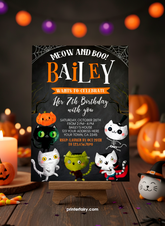
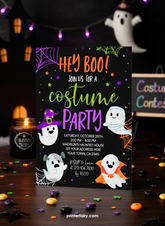
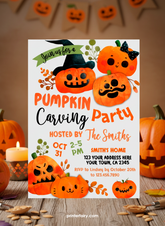
First things first: even last-minute parties need invitations. They set the tone and give your event legitimacy (translation: people actually show up). Skip the mail, you're working with hours, not days.
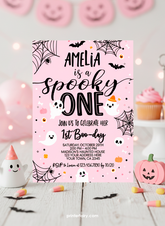
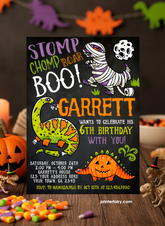
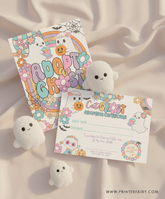
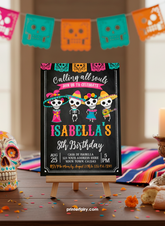
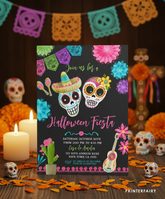
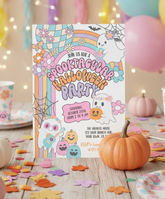
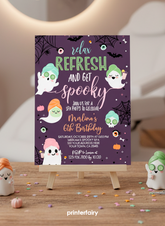
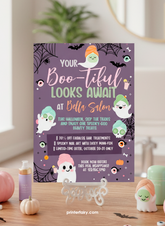
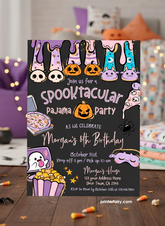
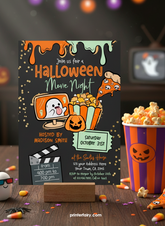
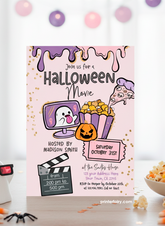
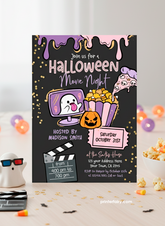
The fastest solution? Editable digital invitations that you can customize in minutes and send immediately via text, email, or social media. Look for designs that let you add party details, customize colors, and even include photos if you want that personal touch.
Pro tip: Choose a design that matches a broader theme you can carry through the party. Going with a "Bewitching Brews" vibe? A "Groovy Halloween" aesthetic? Pick your lane now, it'll make all your other decisions easier.
Send your invitations with a clear RSVP deadline (tomorrow, let's be honest) so you can plan accordingly. Include essential details: date, time, location, whether it's kid-friendly, and if there's a costume expectation.
Time investment: 15-20 minutes | Impact: High - sets expectations and builds excitement
2. Create an Impressive Entry with One Statement Piece
 Your guests' first impression happens at the door. Instead of covering every surface with decorations (who has time?), create one stunning focal point that screams "this party is happening!"
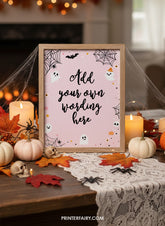
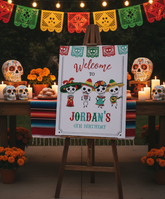
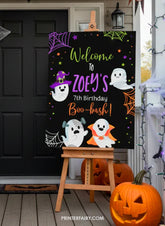
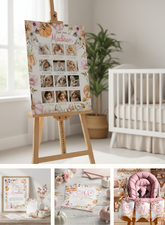
A large, well-designed welcome sign does exactly this. Print it on standard poster board or cardstock, prop it up with an easel or lean it against your door, and surround it with a few pumpkins or hay bales you can grab from any grocery store.
This single element transforms your entrance from "normal Tuesday" to "party venue" and sets the tone before anyone even walks inside. Plus, it makes a perfect photo backdrop, your guests will do your party promotion for you on social media.
Quick win: Add battery-operated string lights around the sign for nighttime arrivals. Takes 30 seconds, adds major atmosphere.
Time investment: 10 minutes setup | Impact: High - immediate party atmosphere
3. Use Banners for Maximum Impact with Minimum Effort
 If you only print one decorative element besides your welcome sign, make it a party banner. These are the MVP of last-minute decorating because they:
- Cover large visual space quickly
- Draw the eye upward, making spaces feel intentional
- Require minimal setup (string and tape, you're done)
- Create that "party" feeling instantly
Hang your banner across the main party area, over the food table, across a fireplace, or even along a fence if you're outdoors. The beauty of printable banners is that you can customize the length to fit your exact space.
Decorator's secret: Hang banners slightly off-center or in a gentle curve rather than perfectly straight. It looks more organic and, ironically, more intentional.
Time investment: 15 minutes print and hang | Impact: Very high - transforms the entire space
4. Enhance Store-Bought Everything with Custom Labels
 Here's where you get to look like a party-planning genius with almost zero effort. You're buying store-bought everything, cookies, cupcakes, juice boxes, chips, and that's absolutely fine. But here's the transformation trick:
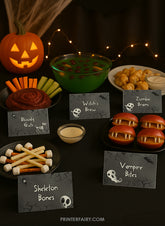
Custom printable labels and food tents turn ordinary items into themed party elements. Wrap water bottles with Halloween labels, add food tents to your store-bought cookie platter ("Witch's Fingers", "Monster Munchies"), and suddenly your Costco run looks intentionally curated.
The psychology here is powerful: presentation matters more than homemade-from-scratch. Your guests will remember the cohesive, themed experience, not whether you personally baked those brownies.
Power move: Buy a few clear glass jars, fill them with orange and black candy from the bulk section, and add custom labels. Instant "candy buffet" for less than $20.
Time investment: 20 minutes for all labels | Impact: Medium-high - elevates entire food presentation
5. Create Party Favors in 10 Minutes Flat
 Party favors might seem like an unnecessary detail when you're short on time, but they're actually one of the easiest ways to leave a lasting impression. And you don't need to handcraft anything.
The formula: Plain bags + bulk candy + custom favor tags = thoughtful party favors
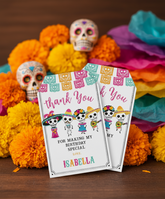
Buy simple brown paper bags or clear cellophane bags, fill them with Halloween candy (you were buying it anyway), and attach a personalized favor tag. Done. Your guests, especially the parents, will appreciate this more than you know.
Bonus: If you're really pressed for time, skip the bags entirely. Print sticker-style tags and stick them directly onto fun-size candy bars. Two-minute favors that still feel special.
Time investment: 10 minutes assembly | Impact: Medium - memorable ending to the party
6. Set Up a Self-Serve Station (Your Secret Weapon)
Here's a party-hosting truth: you don't want to spend the entire event serving food and drinks. A well-designed self-serve station keeps guests happy while letting you actually enjoy your party.
Create a beverage station with a few options (themed, of course): "Witch's Brew" (green punch), "Vampire Blood" (red fruit punch), and water bottles with custom labels. Add editable signs to label everything clearly, guests won't have to ask, and the station looks professionally put together.
The same principle applies to your food setup. Use food tent cards to label items, especially important if you have guests with allergies. "Ghostly Guacamole", "Mummy Dogs", "Pumpkin Patch Veggie Tray", the names take normal food and make it party-worthy.
Pro tip: Arrange food at different heights using cake stands, inverted bowls under tablecloths, or stacked books. Creates visual interest and makes everything more accessible.
Time investment: 30 minutes setup | Impact: High - functional and impressive
7. Prep Your Activities Ahead (Print and Forget)
 Last-minute doesn't mean activity-free. Kids especially need something to do between sugar rushes, and even adult parties benefit from a low-key activity or two.
The solution? Printable party games that you can set out on a table and let guests engage with at their leisure. Halloween bingo, scavenger hunts, coloring sheets for younger kids, or Halloween trivia for adults, print them before the party, set them out with some pencils, and you're done.
No need to organize formal game time or manage activities. Make them available, and guests will naturally gravitate toward them when the mood strikes.
Conversation starter: Include a "Halloween prediction" or "costume contest ballot" card that guests fill out. Creates engagement and gives people something to talk about.
Time investment: 15 minutes | Impact: Medium - keeps guests entertained
8. Don't Forget the After-Party Thank You
 Here's your final secret weapon for looking like you had everything together: send personalized thank you notes within 48 hours of your party.
You can design and send these digitally, which means even though your party was last-minute, your follow-through is impeccable. This single gesture elevates the entire experience and makes guests remember your party as thoughtfully hosted, regardless of your planning timeline.
Plus, let's be honest, it gives you one more chance to showcase those party photos and keep the good vibes going.
Time investment: 10 minutes after party | Impact: High - lasting positive impression
Quick-Win Bonus Ideas

Atmosphere on a Budget:
- Orange and purple lighting (colored bulbs are under $5)
- Dry ice in your punch bowl (grocery stores sell it)
- Halloween playlist running in the background (prep this the morning of)
- Fake cobwebs on your doorway (5-minute impact)
Store-Bought Lifesavers:
- Pre-made veggie/fruit trays in Halloween colors
- Rotisserie chicken = easy main dish protein
- Pre-made cookie dough in Halloween shapes
- Popcorn bar with mix-ins (candy corn, chocolate chips, pretzels)
The Bottom Line: You've Got This
The difference between a party that feels thrown together and one that feels effortlessly cool isn't timing, it's strategy. By focusing on high-impact visual elements (welcome signs, banners, custom labels) and functional design (self-serve stations, printable activities), you create an experience that feels cohesive and intentional.
Your guests won't know you planned this in 48 hours. They'll just remember the Halloween party that was surprisingly well put together, perfectly themed, and genuinely fun.
Ready to make it happen? Choose your party collection theme, download your printables, and get ready to host a Halloween celebration that looks anything but last-minute.
Need everything in one place? Browse our complete Halloween party collections with matching invitations, decorations, and party essentials. Each collection includes coordinating designs so your party looks professionally themed from start to finish.
Printable party supplies delivered instantly • Edit and customize in minutes • Print at home or local print shop


